
You notice it on a wet drive home. The road looks darker than it used to, the beam pattern seems weak, and every oncoming car feels brighter than yours. Then you catch your reflection in a storefront window and see the actual problem. Your headlights are yellow, cloudy, and tired-looking.
That’s usually when people start searching for the best headlight restoration method. They’ve seen the toothpaste videos, the wipe-on kits, and the before-and-after photos that look great for a day or two. What most of those guides skip is the part that matters. How long will the fix last?
That’s the difference between a quick cosmetic improvement and a real restoration. If you care about seeing better at night, making the car look cleaner, and not repeating the job again soon, durability is the whole conversation.
Why Your Bright Headlights Turned Dull and Foggy
A lot of drivers assume foggy headlights mean the bulb is getting weak. Usually, the bulb isn’t the first problem. The lens is. Once the outer surface starts oxidizing, light stops passing through cleanly and starts scattering.

Modern headlights age differently
Most older sealed-beam glass headlights didn’t have this issue in the same way. Modern vehicles use plastic composite lenses, and that material takes abuse from sun, weather, road grit, and repeated washing. Over time, the clear outer layer breaks down and the lens turns hazy.
That’s becoming more common because the car fleet is older. The average age of vehicles on U.S. roads has risen to approximately 12.5 years, and most cars built since the late 1980s feature aerodynamic plastic composite headlights that are prone to UV degradation and oxidation, making restoration a critical maintenance need, according to Consumer Reports' headlight restoration guide.
If you want a deeper breakdown of what’s happening on the surface of the lens, this guide on what causes foggy headlights covers the root causes in plain terms.
It’s a safety problem and an appearance problem
Foggy headlights make a vehicle look older, but the bigger issue is visibility. A lens doesn’t need to be completely yellow to hurt performance. Even light haze softens the beam and makes night driving less comfortable.
Practical rule: If your headlights look bad in daylight, they’re usually performing worse than you think at night.
Drivers often get used to the gradual decline. The change is slow, so it doesn’t feel dramatic until you restore the lens and realize how much clarity was missing.
Comparing the Most Common Headlight Restoration Methods
Not every fix deserves the word “restoration.” Some options clean the lens a little. Some cut through oxidation properly. Some leave the lens exposed and almost guarantee you’ll be doing it again.
Here’s the side-by-side view that is often needed before spending time or money.
| Method | What it does well | Main drawback | Best use |
|---|---|---|---|
| Household hacks | Fast, cheap, easy to try | Temporary, no lasting protection, can damage plastic | Almost never worth it |
| Basic DIY kits | Better than hacks, can improve appearance | Results vary a lot by kit and prep | Light to moderate oxidation |
| Multi-stage DIY kits with sanding and sealant | Stronger correction, better clarity | Takes care, time, and good technique | Moderate to heavier oxidation |
| Professional multi-stage restoration | Most consistent finish and protection | Requires booking a service | Drivers who want durable results |

Household hacks are the wrong shortcut
The internet loves a shortcut. Toothpaste, bug spray, baking soda, WD-40, and random solvent mixes keep showing up because they can make a lens look a little clearer for a short time. That doesn’t make them good methods.
Toothpaste is only a temporary mild abrasive without UV protection, and bug spray can permanently melt the plastic, based on Car and Driver’s 2026 testing of headlight restoration kits. In practice, that lines up with what detailers see all the time. A hack might brighten the surface for a moment, but it doesn’t rebuild a durable protective layer.
If a method sounds like something you’d use in a bathroom cabinet instead of a detailing cart, it’s probably not the best headlight restoration method.
The biggest problem with hacks isn’t just that they fade. Some can create extra damage, which makes the proper repair harder later.
DIY kits can work, but not all kits work the same
People often get mixed results. A basic wipe kit is simple, but simplicity usually means lighter correction and weaker protection. A more complete kit that includes sanding, polishing, and a final coating can do much more.
Car and Driver found that multi-stage kits with sanding and a ceramic sealant, like the Cerakote kit, provided the best results and durability in independent testing. That matters because the structure of the kit tells you what it’s capable of doing. If there’s no real surface correction and no meaningful sealant step, you’re mostly cleaning, not restoring.
If you’re comparing products before deciding whether to tackle it yourself, this roundup of best headlight restoration products helps separate serious kits from throwaway fixes.
A few practical trade-offs matter with DIY:
- Skill matters: Uneven sanding leaves blotchy results.
- Masking matters: Poor prep can mark nearby paint or trim.
- Patience matters: Rushing between grits leaves haze behind.
- Sealant quality matters most: The final protection step determines whether the job lasts.
Professional restoration solves the inconsistency problem
A professional process isn’t just “DIY, but done for you.” The difference is controlled prep, even correction, machine polishing where needed, and a better protective finish.
That matters most on badly oxidized lenses, neglected vehicles, and headlights with awkward shapes where hand work alone tends to leave edges or corners unfinished. It also matters if you don’t want to gamble with sanding near paint.
In practical terms, the best headlight restoration method for most drivers is the one that restores clarity and keeps it. That usually means a multi-stage correction plus a durable UV-protective coating, whether it comes from a high-end kit used carefully or a professional service done with the right process.
The Single Reason Most Headlight Restorations Fail
Most failed headlight jobs don’t fail because the sanding was completely wrong. They fail because the lens was corrected and then left underprotected.
That’s the part many guides gloss over. Removing oxidation is only half the job. The moment you abrade that dead outer layer away, you’ve exposed fresh plastic that needs strong UV defense. If that protection is weak, thin, or skipped, the countdown to haze starts again.
Clarity on day one doesn’t mean much
A lot of DIY jobs look good right after polishing. That’s why so many people think they succeeded. The problem shows up months later when the lens starts yellowing again and the finish loses uniformity.
According to detailing industry user polls, up to 70% of DIY headlight restorations begin to yellow and haze again in less than a year. The key difference is the sealant; professional nano-sealants can retain 90% clarity after 18 months in accelerated UV tests, versus just 40% for typical DIY kit sealants, as summarized in this headlight restoration durability discussion.
That gap explains why two headlights can look nearly identical right after correction and perform very differently over time.
The coating is the real make-or-break step
Think about the process in two parts:
- Correction removes the damaged material.
- Protection keeps the fresh surface from breaking down again.
Most cheap fixes focus almost entirely on the first part because it creates a dramatic before-and-after. The second part is less flashy, but it’s the reason one restoration lasts and another doesn’t.
A headlight isn’t fixed when it looks clear. It’s fixed when it stays clear.
That’s why I tell customers to be skeptical of any method that spends all its energy on sanding or polishing but treats the coating as an afterthought. If the final layer doesn’t block UV well, the lens is already on its way back to cloudy.
A Professional's Guide to Flawless Headlight Restoration
A proper restoration is a controlled refinishing job on a very visible piece of plastic next to painted panels, trim, and sometimes delicate edges. The method isn’t complicated in theory, but doing it cleanly and consistently takes discipline.
The process starts before sanding
The lens gets cleaned first so dirt and film don’t drag across the surface during correction. Then the surrounding paint, trim, and edges are masked carefully. This step gets rushed by amateurs all the time, and that’s where accidental scuffs happen.
From there, the real work begins with progressive sanding. On heavier oxidation, that means moving through multiple grits to level the damaged surface evenly instead of trying to force clarity with polish alone. Consumer Reports noted that top-performing kits rely on a multi-step process that includes progressive sanding and a UV-blocking coating applied carefully by hand, which is one reason the process rewards patience and clean technique.
What the correction stage actually does
A professional approach usually follows this order:
- Surface prep and inspection: Dirt, wax residue, and road film are removed so the lens condition is honest before correction starts.
- Progressive wet sanding: The lens is leveled with increasingly finer abrasives until the oxidation and old failed coating are removed evenly.
- Compounding and polishing: After sanding, the surface is refined back to optical clarity.
- Protective coating application: A durable UV-resistant coating is applied to lock in the finish.
The sanding stage is where a lot of bad DIY jobs go sideways. Uneven pressure, skipped grit steps, dry sanding where it shouldn’t happen, or stopping too early all leave defects that show up once the lens dries.
For shop owners curious about how technology is changing service workflows beyond the hands-on repair side, this article on how AI can transform auto repair is a useful read. The repair itself still depends on skilled technique, but scheduling, communication, and follow-up are changing fast.
Polishing restores optical clarity
Once the lens has been sanded uniformly, polishing removes the sanding haze and brings back transparency. Depending on the lens shape and condition, that may involve a machine, a polishing pad, and a compound chosen for plastic correction rather than paint correction.
This is also where internal damage gets exposed. If a lens has hazing on the inside, heat damage, cracking, or deep pitting, no outside polishing step can make it factory perfect. A good technician can tell the difference between surface oxidation and permanent internal damage before overpromising the result.
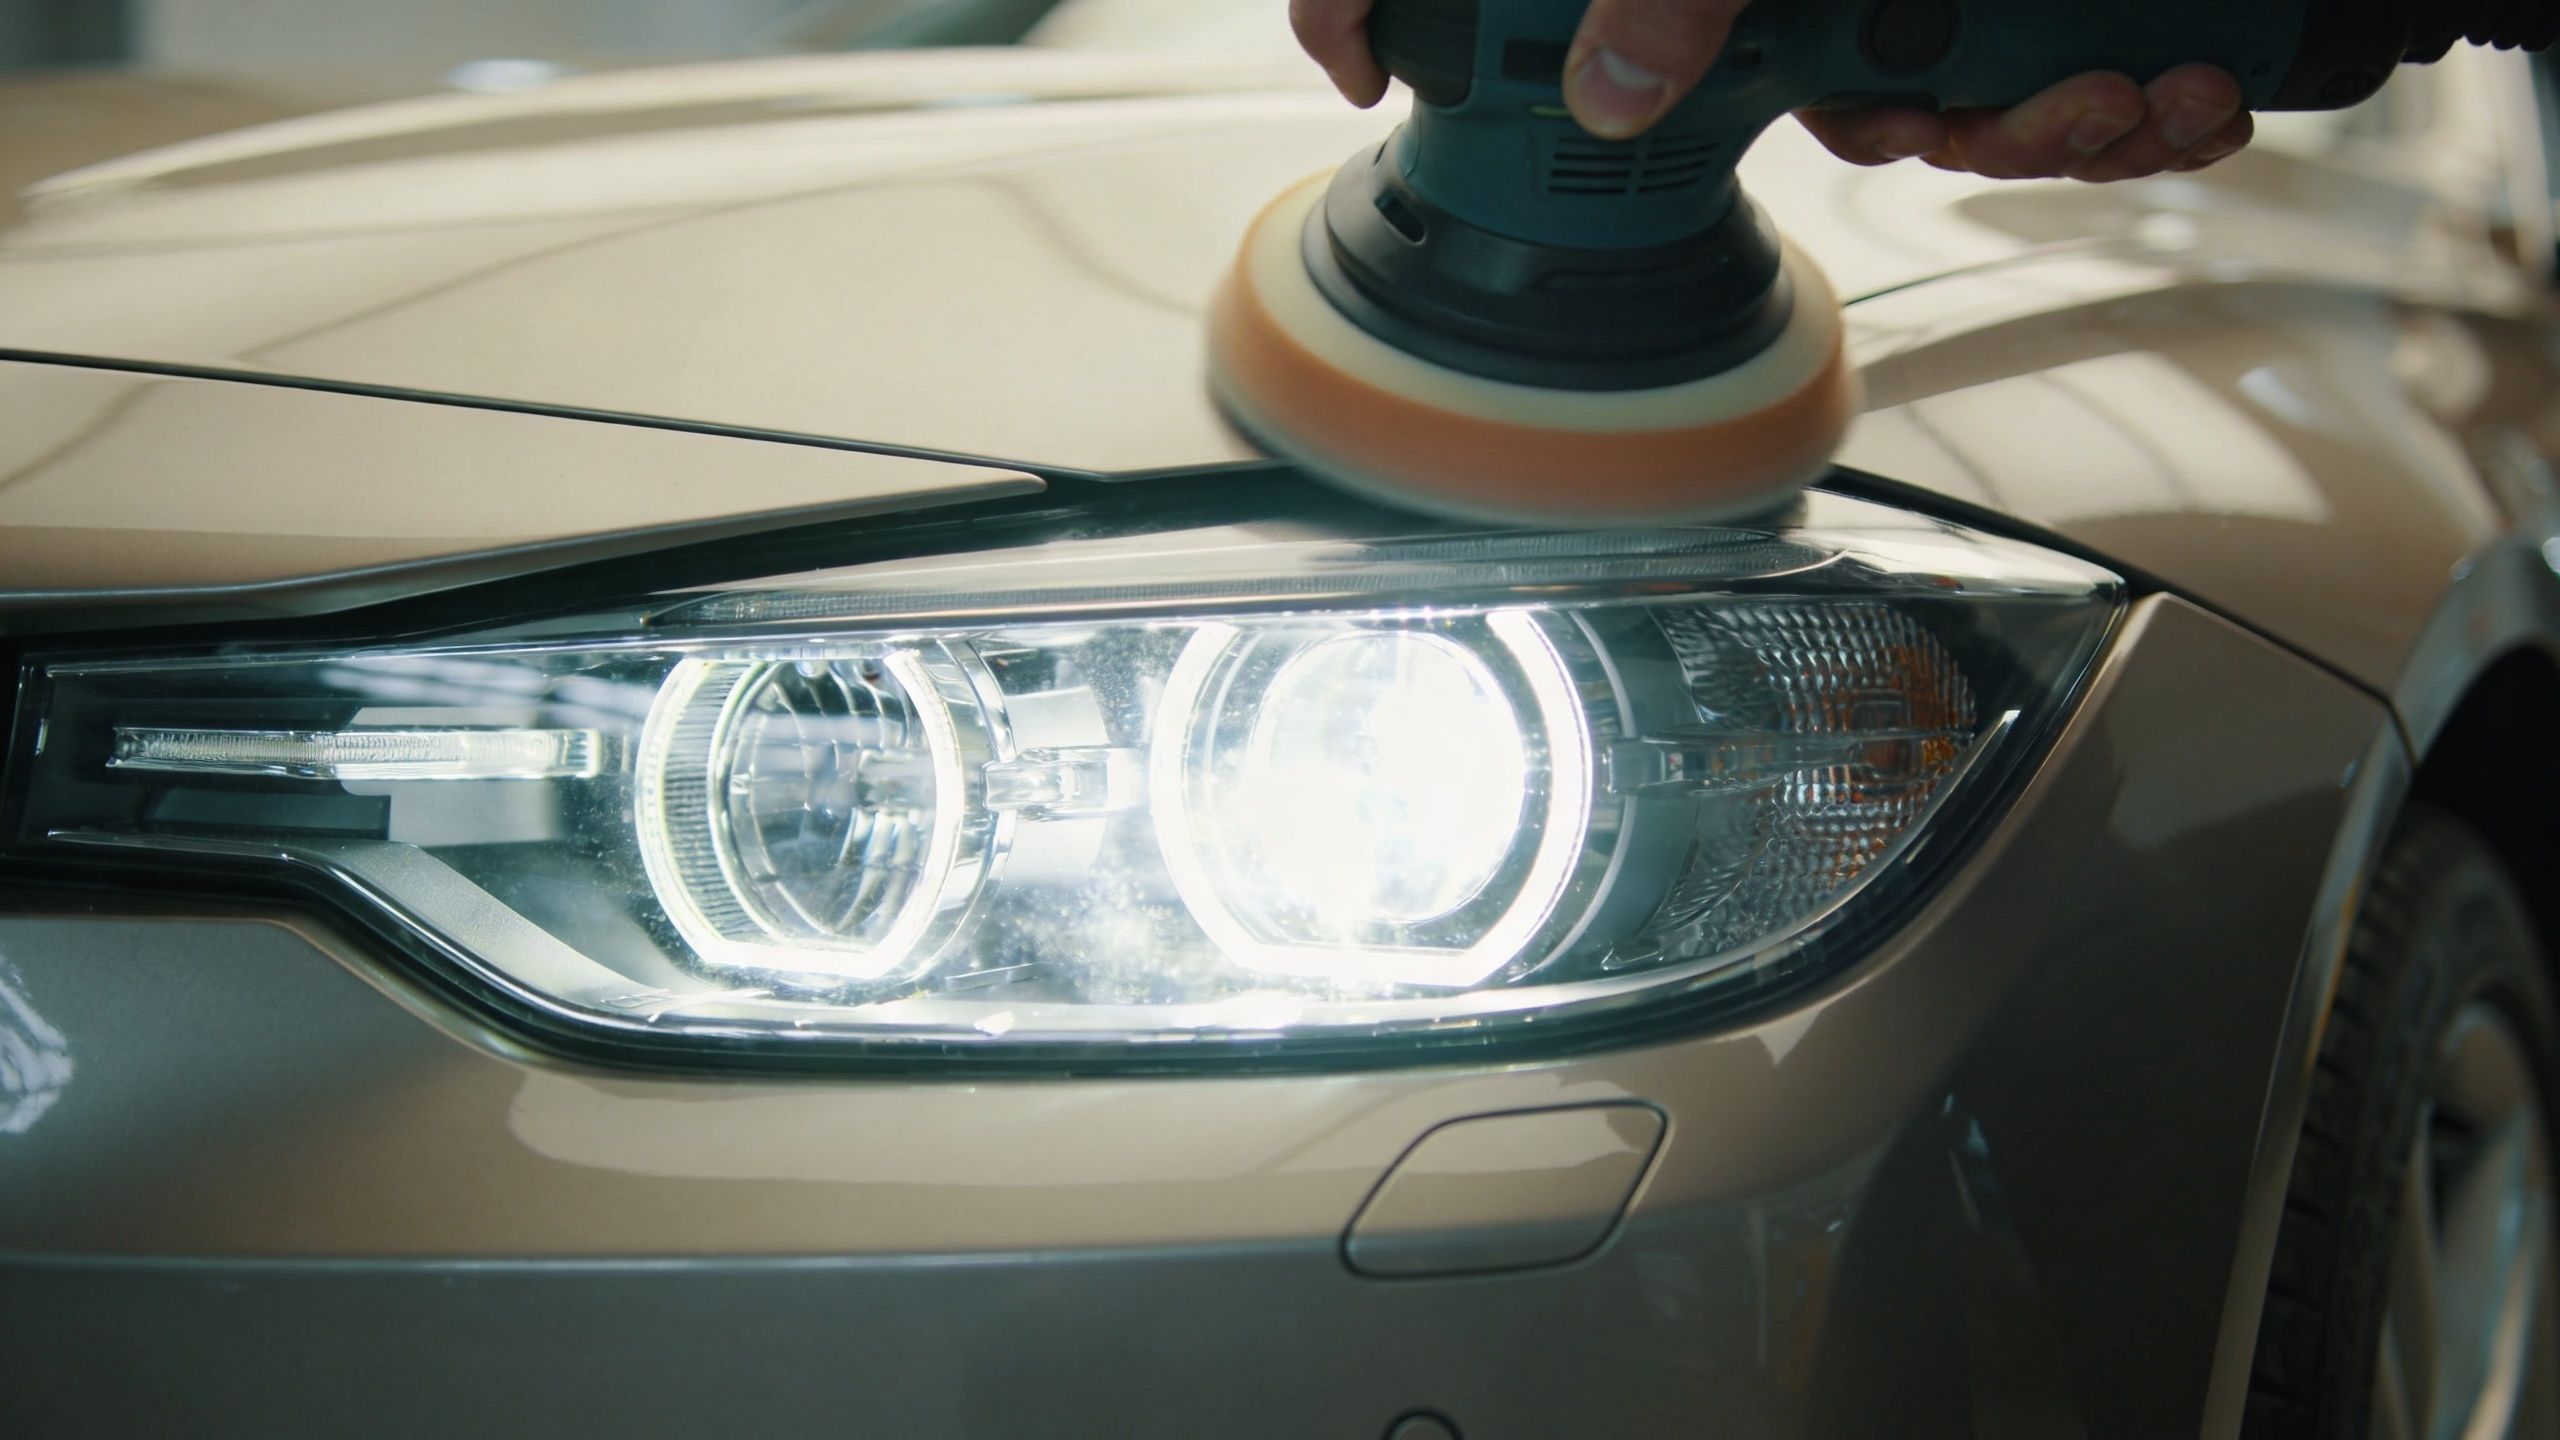
Here’s a visual look at the kind of process customers often ask about:
The final coating decides whether the work holds up
This is the part that separates a polished lens from a durable restoration. The corrected plastic needs a proper UV-resistant finish, applied on a clean, dry surface with good control.
That can be a professional-grade sealant or coating system designed for polycarbonate lenses. One service option that follows this type of process is The Mobile Buff, which performs multi-step headlight correction and applies UV-resistant protection as part of mobile detailing work in Central Pennsylvania.
Shop-floor reality: The polishing gets the compliments. The coating gets the longevity.
When customers ask for the best headlight restoration method, this is the answer in practical terms. Correct the lens fully, refine it properly, and protect it with a coating that’s built to survive sun and weather.
How to Keep Your Headlights Clear for Years to Come
Once a headlight has been restored correctly, maintenance is simple. You don’t need another full correction routine. You need to stop beating up the new finish.

Wash them like painted surfaces
A restored headlight should be treated with the same care you’d give gloss trim or clear-coated paint. Don’t scrub it with a rough towel, and don’t hit it with harsh chemicals just because it’s plastic.
A few habits make a big difference:
- Use a clean microfiber: Old rags and grimy towels leave fine scratches.
- Stick to pH-friendly wash products: Harsh cleaners can weaken protection over time.
- Dry the lens after washing: Standing water and mineral residue leave the surface looking older faster.
- Avoid random solvents: If you wouldn’t use it on paint, don’t use it on a restored lens.
Add protection before the lens looks bad again
The smartest maintenance step is occasional top-up protection. A quality sealant or ceramic spray helps the lens shed contamination and reduces wear on the main coating.
This part of the market is growing for a reason. As of early 2026, sales of ceramic-infused headlight sealants have surged by 45% in the professional market. These modern coatings can offer 3-5 years of oxidation resistance, outperforming traditional polymer wipes by double in accelerated UV exposure tests, according to this industry discussion on proper headlight restoration methods.
You don’t need to obsess over it. Consistent, gentle care beats aggressive “fixes” every time.
Keep the lens clean, keep protection on it, and don’t wait for yellowing to tell you maintenance is overdue.
Know when maintenance is no longer enough
If the lens starts looking patchy, rough, or blotchy again, maintenance products won’t reverse real oxidation. At that point, the surface usually needs correction, not another quick wipe.
That’s where many drivers lose time. They keep layering temporary products over a lens that needs to be refinished. If the goal is long-term clarity, don’t confuse maintenance with restoration.
Get Crystal Clear Headlights in Central PA Without Lifting a Finger
Basic car care is a task many don't mind. Headlight restoration is different. It takes the right abrasives, good masking, clean technique, and a quality protective coating. If any one of those steps is sloppy, the result either looks uneven or doesn’t last.
That’s why many drivers are better off skipping the trial-and-error stage and booking a service that handles the process correctly from start to finish. If you’re in this area and want the job done at your home or workplace, you can schedule a mobile headlight restoration service instead of spending your weekend testing kits and hoping the coating holds.
For local drivers in Harrisburg, Mechanicsburg, Carlisle, Newport, and nearby Central PA communities, mobile service makes this easy. You get the convenience of driveway service, no guessing about products, and no risk of sanding too aggressively or damaging adjacent paint.
If you want to check local reviews before booking, you can also see the business profile on Google. Clear headlights improve how the car looks, but above all, they help you drive with more confidence after dark.
If your headlights are foggy, yellow, or just not pulling their weight at night, book a service with The Mobile Buff and get a proper restoration that’s built to last.
