
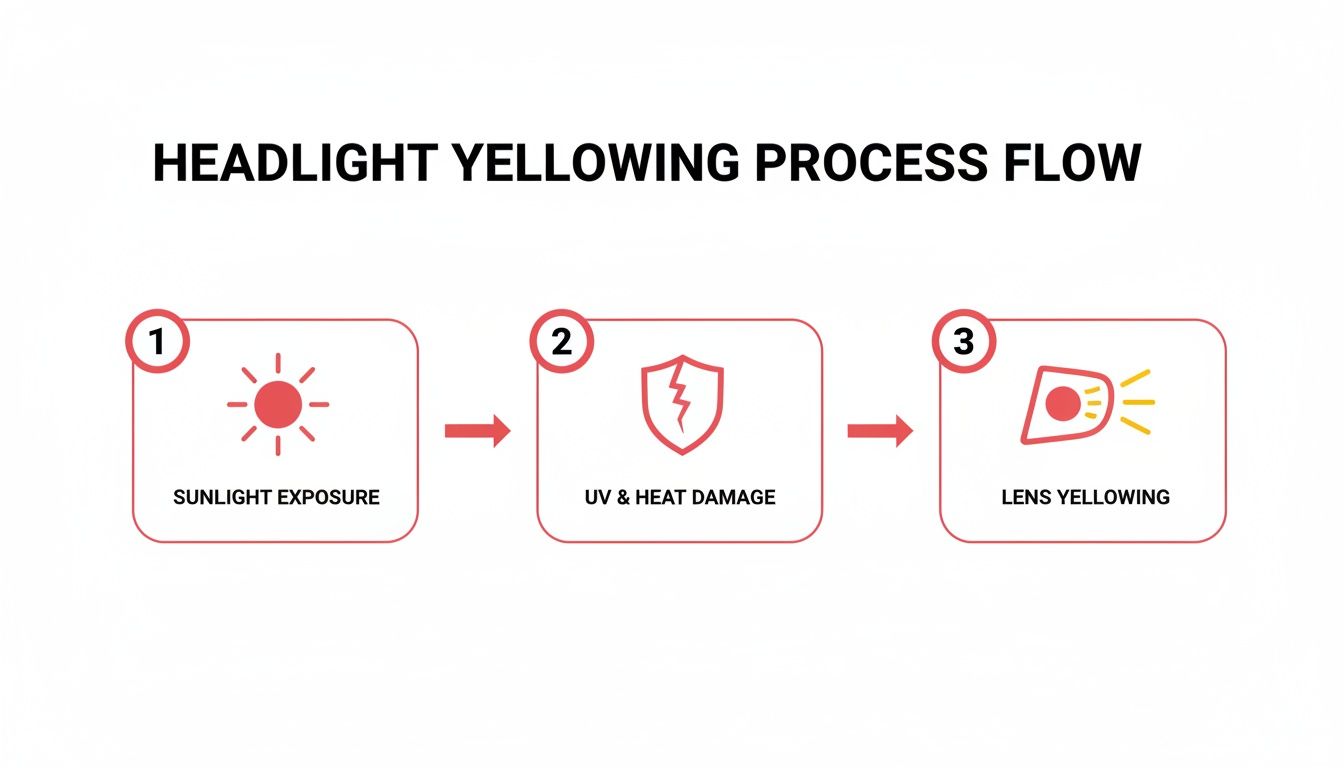
Ever notice how your car's headlights start to look dull, foggy, or even yellow over time? It’s an incredibly common issue, and it's more than just a cosmetic problem—it's a serious safety concern. Understanding why this happens is the first step toward finding a solution that really works.
The root cause is the material your headlights are made of. Most modern cars use a durable plastic called polycarbonate. While it's tough and impact-resistant, it has a natural enemy: the sun's UV rays. To combat this, automakers apply a protective clear coat at the factory.
How It All Breaks Down
Over the years, that factory coating is constantly under attack from a few key culprits:
- Sunlight: UV radiation is the primary offender, slowly breaking down and degrading the protective layer.
- Road Debris: Tiny rocks, sand, and grime kicked up by other vehicles act like sandpaper, wearing down the surface over time.
- Chemicals: Everything from road salt and acidic bug splatter to harsh soaps used at some car washes can eat away at the coating.
Once that protective shield is compromised, the raw polycarbonate underneath is exposed to the elements. This exposure triggers a process called oxidation, which creates that familiar yellow, cloudy haze. This damaged surface doesn't just look bad; it scatters and dims the light from your bulbs, drastically reducing your visibility at night.
If you're curious and want to get into the nitty-gritty, we've got a full breakdown on what causes foggy headlights.
This isn't just an observation—it's a measured safety risk. Studies have found that hazy, worn-out headlights can emit as little as 22% of the light they did when they were new. That means you could be driving with almost 80% less light on a dark road. This startling data comes from in-depth testing done by AAA.
Think about what that means for your reaction time on the road. With that much light loss, you're only seeing far enough ahead to safely drive about 39 mph on the highway. It's a major safety problem that needs a professional solution.
The great news is that this is completely fixable. Our professional process doesn't just wipe on a temporary shine; we carefully remove the damaged, oxidized layer and apply a new, durable UV protective coating. It’s the industry-approved method to restore your headlights for the long haul.
But don't just take our word for it—see what our local Central PA customers are saying about the difference it makes on our Google Business Profile.
What Goes Into a Professional Headlight Restoration?
Forget the viral "hacks" you see online. When you want to truly fix yellowed, foggy headlights, there's a proven, professional method that delivers results that look incredible and actually last. This isn't a quick trick; it's a careful, multi-step process that gets to the root of the problem.
The goal is to completely remove the old, failed, and oxidized plastic layer and then replace it with a brand new, durable shield. Let's walk through exactly how we bring headlights back to life, making your car safer and getting it looking sharp again.
Prep Work: The Foundation for a Flawless Finish
This might sound basic, but the prep work is one of the most critical parts of the whole job. Before we even think about sanding or polishing, we meticulously mask off all the painted surfaces around the headlights—that means the bumper, fenders, and hood.
We use high-quality automotive masking tape to create a tight, precise barrier. Why? Because the sanding process that follows is aggressive, and the last thing you want is a stray scuff mark on your car's paint. This attention to detail is a huge part of what separates a true professional job from a risky weekend project.
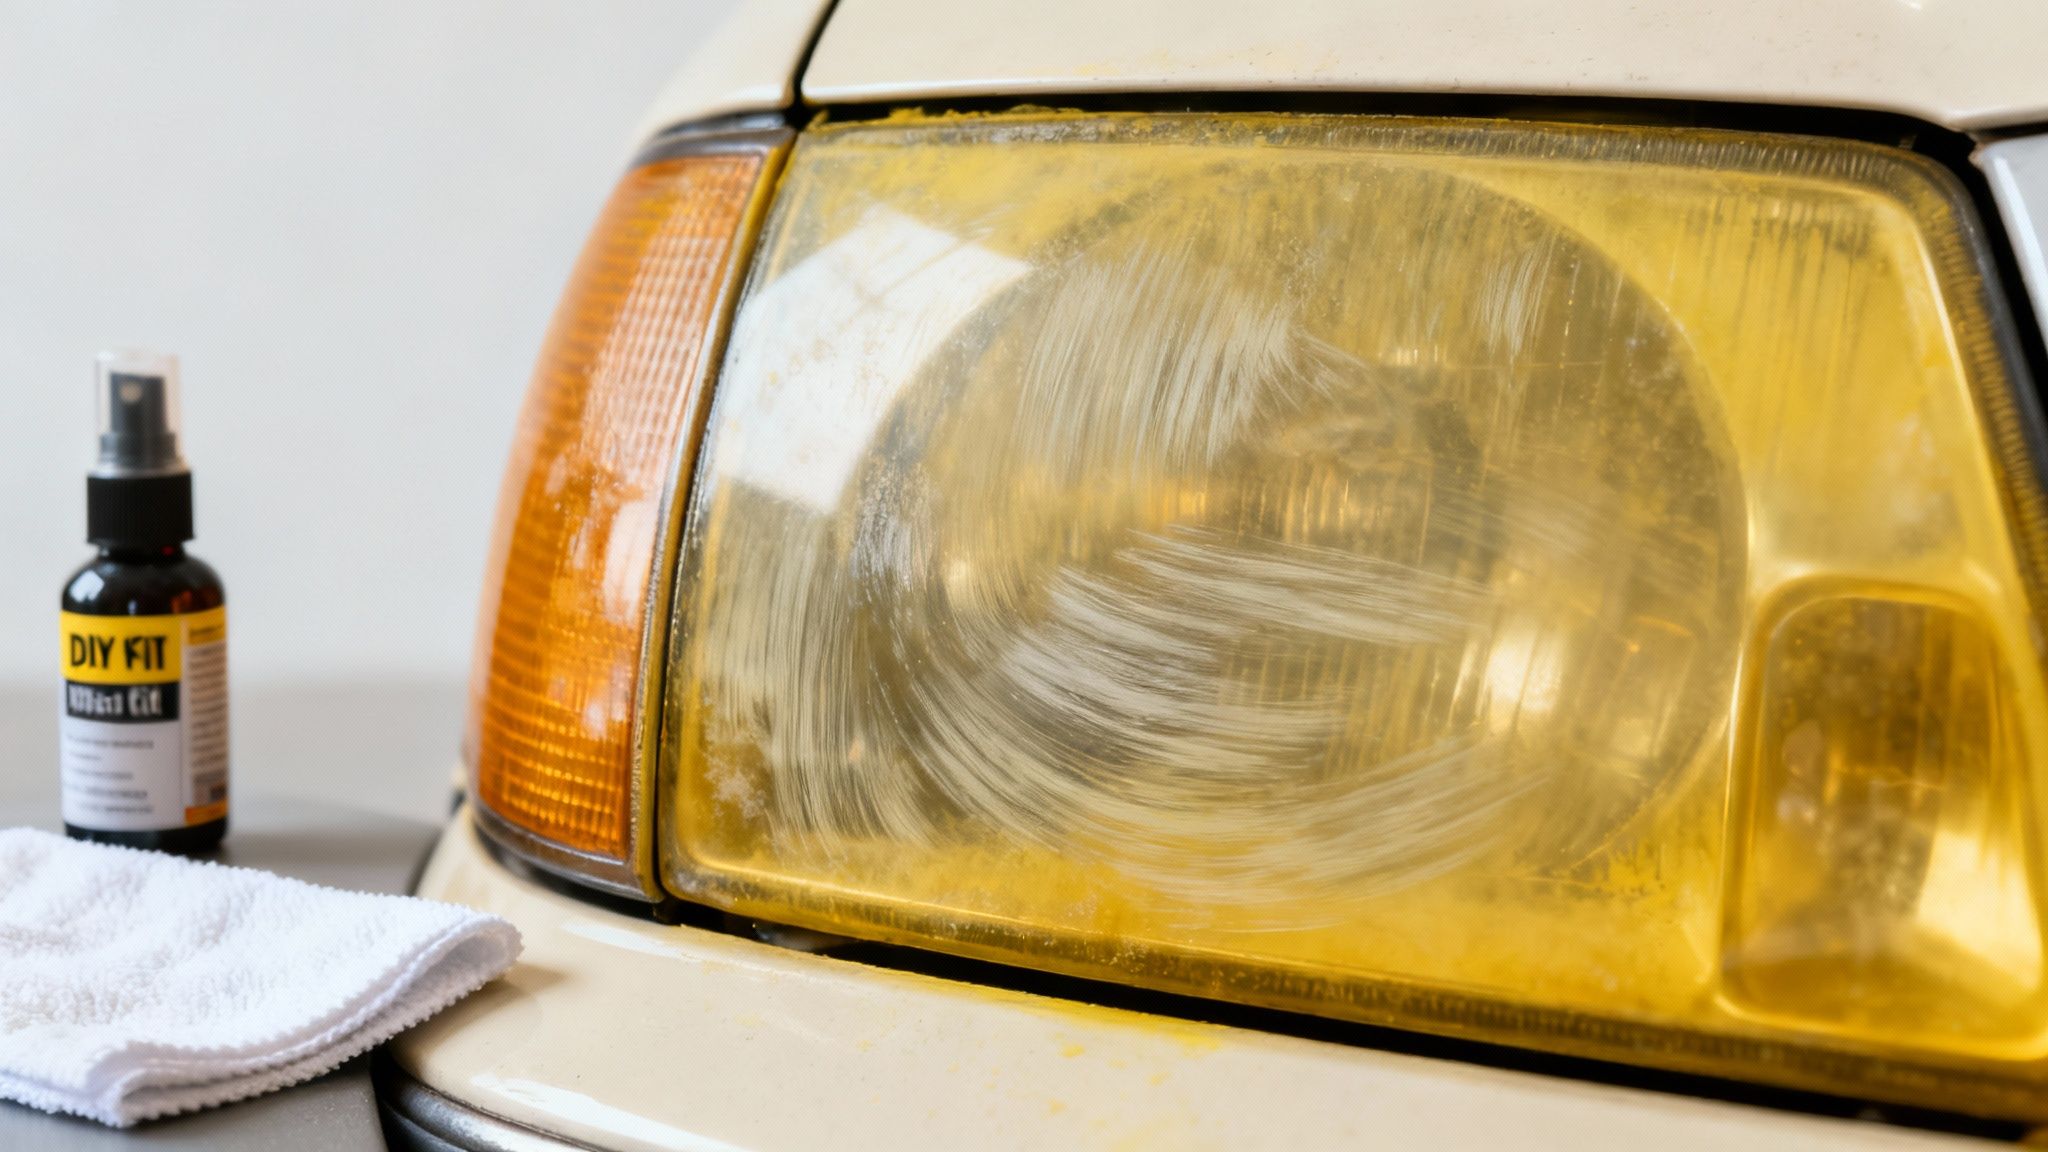
So why do headlights get so bad in the first place? It's not just dirt.
As you can see, the yellowing isn't a surface stain. It’s the original factory protective coating failing and breaking down. That's exactly why a simple polish will never permanently fix it.
The Art of Multi-Stage Wet Sanding
With the car safely taped off, the real restoration begins. This is where the magic happens: multi-stage wet sanding. We don’t just grab one piece of sandpaper and go to town. We use a whole series of different grits, starting with a more aggressive one to quickly and evenly strip away that yellow, oxidized mess.
Throughout this entire process, we keep the headlight surface wet. The water is key—it acts as a lubricant, washing away the plastic particles we're sanding off and keeping the sandpaper from getting clogged up. This helps us get a perfectly uniform finish.
After that first pass, we switch to progressively finer grits of sandpaper. Each new step smooths out the sanding marks left by the previous one. By the end, the polycarbonate lens is smooth and even, but it will have a hazy, frosted appearance. That's exactly what we want.
Key takeaway: Sanding might sound scary, but it's a corrective step. By carefully removing the damaged outer layer, we're exposing a fresh, healthy layer of plastic underneath that can be brought back to life.
Polishing: From Hazy to Crystal Clear
Once the sanding is done, the headlight will look pretty cloudy. Don't panic! That’s completely normal and means we're ready for the next phase: polishing it back to a brilliant shine.
Using a machine polisher, we work through a series of specialized compounds. The first cutting compound gets rid of those fine sanding marks, and then a finishing polish refines the surface to a stunning, glass-like clarity. This machine polishing step is what restores the lens's optical clarity, ensuring your headlights can shine as brightly as possible.
The Final, Most Important Step: Lasting Protection
This last step is what truly sets a professional restoration apart and gives it longevity. After the lens is perfectly polished and clear, we apply a durable, professional-grade UV ceramic coating. This isn't the flimsy wipe-on sealant you'll find in a DIY kit at the auto parts store.
This advanced coating forms a chemical bond with the polycarbonate, creating a hard, new protective layer. It acts as a powerful shield against the very elements that destroyed the original coating—harsh UV rays, road grime, salt, and chemicals. This is the secret sauce to a restoration that lasts for years, not just a few months.
To give you a clearer picture, here’s a quick breakdown of how our professional approach compares to a typical kit you'd buy off the shelf.
Professional Restoration vs DIY Kits
While a DIY kit can offer a quick fix, it just can't replicate the deep correction and long-term protection of a professional service. The tools, materials, and techniques we use are designed to solve the problem permanently.
This professional process is the reason our clients in Harrisburg and Carlisle see such dramatic and lasting results. If your headlights are looking worse for wear, let us show you the difference a true restoration can make. Check out our Google Business Profile reviews from other local drivers and give us a call!
Why Most DIY Headlight Fixes Are a Waste of Time
It's tempting, isn't it? You're walking through an auto parts store, you see a flashy headlight restoration kit for under $20, and you think, "Perfect, a quick weekend project." We get it. But as detailing professionals, we feel it's important to have an honest chat about why these quick fixes almost always lead to disappointment.
So many of our clients in Harrisburg and Carlisle have tried this exact route before calling us. The story is always the same: their headlights looked better for a few weeks, maybe a month if they were lucky. Then, almost overnight, they looked even worse than before. This isn't just bad luck; it's the inevitable result of an incomplete process.
The Problem with Incomplete Sanding
The first major issue is the sanding. A real, professional headlight restoration isn't just a polish—it's about physically removing the entire top layer of damaged, oxidized plastic. The tools in most DIY kits just aren't up to the task.
They typically come with a few tiny squares of fine-grit sandpaper for you to use by hand. That's rarely aggressive enough to cut through years of sun-baked UV damage and road grime. You might scrub off the surface-level yellowing, but you're leaving behind deeper pits and oxidation. Without removing all of that damage, you're just polishing a flawed foundation.
Weak Polishes and a Temporary Shine
After the half-hearted sanding comes the polishing. The compounds in these kits are usually pretty weak. They're formulated to create a quick, greasy shine that gives the illusion of a job well done. In reality, the underlying haze and imperfections are still there, just temporarily masked by a polish that will wash off in the first good rain.
The biggest failure of DIY kits is what they don't do. They don't solve the original problem—the failed factory UV protection. Instead, they strip away what little is left and offer a flimsy replacement.
The Fatal Flaw: Missing Protection
This is the most critical reason these fixes don't last. Once you sand your headlights, you've exposed fresh, raw polycarbonate plastic to the open air. It's now completely vulnerable. The little wipe-on "sealant" packets included in these kits offer almost zero meaningful UV protection.
These coatings are incredibly fragile. A few car washes, a couple of rainstorms, and that weak layer is gone. Now your headlights have zero defense against the sun, causing them to re-oxidize and turn yellow much faster than they did the first time. It's a frustrating cycle we've seen time and time again.
Many of our customers from all over Central PA can tell you about this experience. You spend an afternoon on a project only to watch your headlights get cloudy and yellow again in no time. If you've been down this road, you can check out local reviews and see how we provide a lasting solution on our Google Business Profile.
Let us save you the headache and get it done right the first time. A professional restoration addresses the root cause by applying a durable, long-lasting UV clear coat that protects your headlights for years, not weeks.
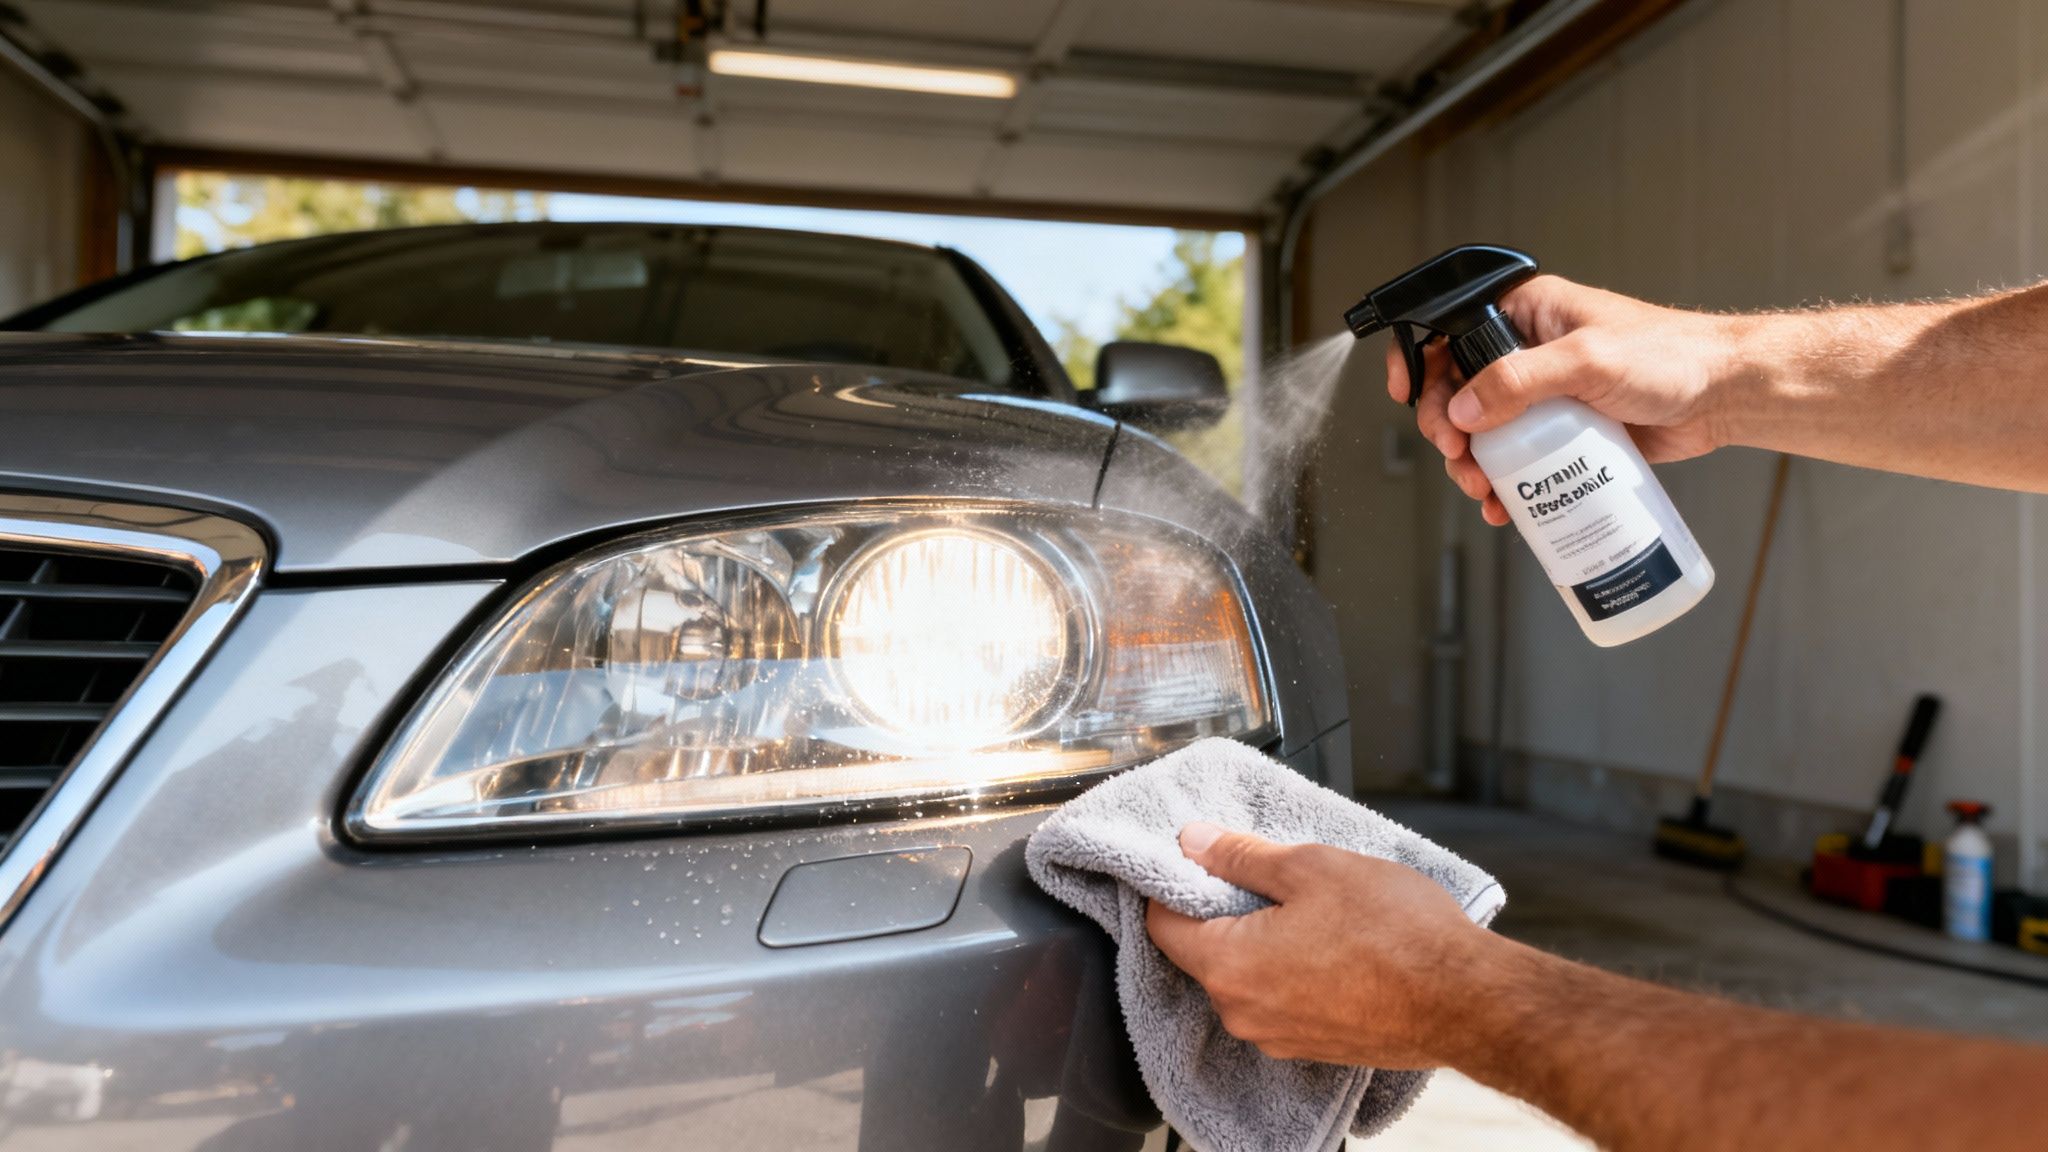
How to Keep Your Headlights Clear After Restoration
So you’ve just had your headlights professionally restored, and they look brand new. Awesome! Now, how do you keep them that way? The last thing you want is to see that dreaded yellow haze creeping back in.
The good news is, a little bit of upkeep goes a very long way. That fresh, professional-grade UV coating is now your headlights' best friend, and your job is to protect it.
Gentle Cleaning Habits Make a Big Difference
First things first: think about how you wash your car. Those drive-thru car washes with the giant, spinning brushes might be convenient, but they can be brutal on your new finish. They can easily etch tiny scratches into the UV coating, which not only dulls the shine but also weakens its ability to block the sun.
To keep things looking crystal clear, try these simple habits:
- Stick to Hand Washing: When you can, wash your car by hand. A clean microfiber wash mitt and a good pH-neutral car soap are all you need to safely clean the lenses without causing damage.
- Ditch the Harsh Chemicals: Never use all-purpose cleaners, glass cleaners, or degreasers on your headlights. They're way too aggressive and can strip that protective coating right off.
- Top It Up: Every now and then, apply a quality paint sealant or even a ceramic spray wax over the headlights. This adds another sacrificial layer of protection against the elements.
These small tweaks to your routine will make a massive difference in how long your restoration lasts.
Believe it or not, where you park is one of the biggest factors in keeping your headlights clear. UV radiation from the sun is the number one enemy, causing the oxidation that turns your lenses yellow and cloudy in the first place.
Smart Parking and Sun Protection
Think of it this way: the less time your headlights spend baking in direct sunlight, the longer they'll last.
A garage is obviously the best-case scenario. But if that's not an option, simply choosing a shady spot under a tree or opting for a covered parking garage can dramatically reduce daily UV exposure. It all adds up.
This isn't just true for your headlights, either. The sun is constantly beating down on your car's paint, too. For a deeper dive on that, you can read our guide on how to protect car paint from sun damage.
By combining smarter parking with gentle washing, you can easily keep those headlights looking pristine for years to come. This means your car looks great and you have the bright, safe visibility you need for driving at night.
When to Skip the Hassle and Call a Professional
Let's be honest, tackling a DIY headlight restoration project can seem tempting. It appears straightforward, and who doesn't love the idea of saving a few bucks? But before you jump in, it’s worth taking a moment to consider what the job actually involves. A true restoration is more than a quick wipe-down—it demands the right tools, skill, and a significant chunk of your time to achieve professional-level results.
So, ask yourself a few questions. Do you have a machine polisher in your garage? What about the various grits of sandpaper needed to properly remove that hazy, yellowed layer? And most importantly, are you comfortable applying a professional-grade UV coating to ensure your hard work actually lasts? It's a messy process that can easily consume your Saturday afternoon.
Evaluating the Risks and Rewards
Beyond just having the right equipment, there's a real risk of making things worse if you're not experienced. A slip of the hand with a sander can easily scuff the paint around your headlights. Going too aggressively with a polisher can burn right through the plastic lens. Suddenly, what started as a small project becomes a much bigger, more expensive problem.
For busy parents and working professionals, that potential for error just isn't worth the trade-off.
A professional restoration isn’t just a cleaning service. Think of it as an affordable investment in your vehicle's safety and appearance. We bring the expertise and specialized tools right to your doorstep, taking all the guesswork and hassle out of it for you.
This kind of convenience is a game-changer. As cars get older, the need to restore yellowed headlights has created a huge market for both DIY kits and mobile detailing services. Mobile restoration is a lifesaver in suburban and rural spots where folks depend on their cars for long drives on dark roads but just don’t have time for a trip to the shop. You can discover more about this growing service trend to see why it's become a go-to maintenance item for so many drivers.
The Clear Choice for Central PA Drivers
For our neighbors in Mechanicsburg, Newport, and all over Central Pennsylvania, our mobile service is the perfect answer. We roll up to your home or office with everything needed for a complete, top-tier restoration. You don't have to buy a single tool, worry about making a costly mistake, or give up your precious weekend.
We manage the entire process, from carefully masking off your car's paint to applying a tough-as-nails ceramic UV coating that locks in that crystal-clear finish for the long haul. Don't just take our word for it—see what your neighbors are saying on our Google Business Profile!
If you’re ready to see the road ahead with perfect clarity without lifting a finger, it's time to call in the pros. Find out more about our professional headlight restoration process and get your appointment on the books today.
Got Questions About Headlight Restoration? We've Got Answers.
We get asked a lot of great questions from drivers all over Central PA about the best way to fix cloudy, yellowed headlights. It's a super common problem, so let's get you some clear, straightforward answers.
Here are a few of the things we hear most often.
How Long Does a Professional Restoration Actually Last?
This is the big one, and for good reason. Nobody wants to do this twice.
Unlike the temporary shine from a DIY kit that might fade in a few months, a true professional job is all about longevity. When we apply a high-quality, professional-grade UV ceramic coating, you're looking at several years of clarity.
This isn't just a polish; it's a durable sealant that chemically bonds to the lens. It creates a tough, protective barrier against the very UV rays and road grime that caused the yellowing in the first place. With a little simple care (like gentle hand washing), you'll have bright, clear headlights for the long haul.
Is It Really Worth It Compared to Just Buying New Headlights?
In a word: absolutely. The cost of a brand-new headlight assembly can be a real shock to the system. We're talking anywhere from a few hundred dollars to well over $1,000 per light, especially on modern cars with all their tech.
Professional restoration is just a tiny fraction of that cost. We bring your existing headlights back to a like-new condition, restoring not just their looks but, more importantly, their safety and performance on the road. It's hands-down the smartest, most cost-effective solution.
Choosing professional restoration over replacement isn't just about saving a buck. It's a smart investment in your car's safety and value without the massive, often unnecessary, expense of new parts.
Can You Fix Headlights with Moisture Trapped Inside?
Ah, the dreaded "fishbowl" look. If you see condensation or water droplets inside your headlight, it's a sign that the factory seal on the housing has failed.
Our restoration process is focused on fixing the exterior surface of the lens—the part that gets hazy and yellow from sun exposure. Moisture on the inside is a totally separate issue that requires taking the headlight off the car to be properly resealed or, in some cases, replaced. We can spot this right away during our inspection and will always give you honest advice on what to do next.
What Parts of Central PA Do You Cover?
We're a mobile service, so we come right to you! The Mobile Buff proudly serves car owners all over Central Pennsylvania, including Harrisburg, Mechanicsburg, Carlisle, Newport, and all the surrounding communities.
Don't just take our word for it—see what your neighbors think about our work by checking out our Google Business Profile reviews.
Ready to finally get rid of that ugly yellow haze and drive safer at night? The team at The Mobile Buff is here to make it happen. We bring the right tools, professional expertise, and the best materials on the market straight to your driveway for a flawless, long-lasting finish that restores your car's look and, most importantly, your visibility.
