


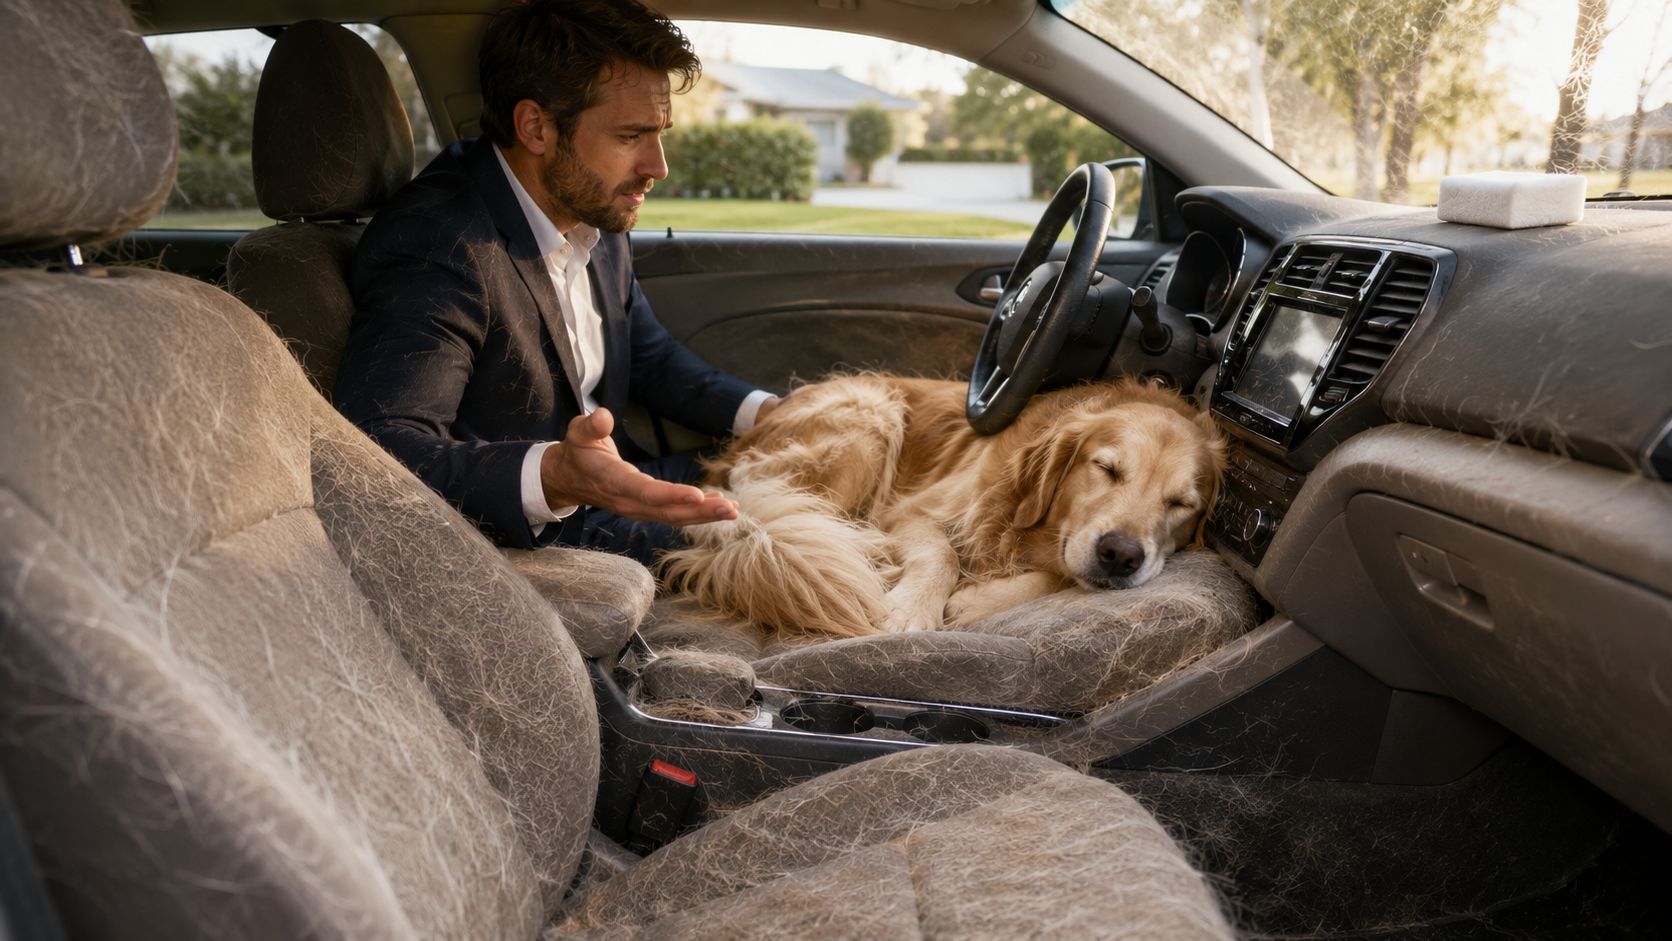
Dog rides are fun until the back seat looks like it's wearing a fur coat. You vacuum, pull at clumps by hand, and still find hair woven into the seat fabric, packed into carpet fibers, and stuck along the cargo area. That's usually the point where people start looking for a pet hair removal sponge and wondering if it works.
It can. In the right situation, it's one of the handiest low-tech tools you can keep in your car cleaning kit. But from a detailer's perspective, it's not a miracle tool. It's a friction tool. That means it shines on some surfaces, struggles on others, and works best when it's part of a real process instead of the whole plan.
Your Guide to Conquering Car Pet Hair
Most pet owners don't need a lecture on where the hair comes from. It's on the rear bench after one trip to the park, on the carpet after a muddy weekend, and somehow floating onto the front seats even when the dog never sat there. Pet hair spreads fast, and once it gets worked into fabric, simple vacuuming often leaves behind the worst of it.
That's one reason the category has grown so much. The global pet-fur-remover market is projected to rise from USD 1,362.4 million in 2025 to USD 3,285.0 million by 2035, a projected 9.2% CAGR, according to Fact.MR's pet fur remover market forecast. That tells you this isn't some tiny niche cleaning problem. Pet owners are actively looking for better ways to deal with fur on furniture, bedding, clothing, and car interiors.
Where the Sponge Fits
A pet hair removal sponge is popular because it's simple. No power cord. No sticky sheets. No setup. You grab it, sweep it across fabric, and it starts gathering hair into clumps you can pick up or vacuum away.
That makes it a strong first line of defense, especially on cloth seats, mats, and cargo liners. If pet hair is your constant headache at home too, a practical companion read is this guide to machine washable couch covers, since the same problem often follows pet owners from the living room into the car.
Why It's Not the Whole Job
A sponge can make a dramatic difference, but a clean-looking seat isn't always a fully cleaned interior. Hair settles into seams, under seat rails, inside carpet edges, and in the rougher nap of heavily used areas. That's why a professional process still matters.
If you want a broader look at the full workflow, this breakdown of how to remove pet hair from a car gives the bigger picture. The sponge is a useful tool. It's just one tool.
First Things First Prepping Your Car Interior
The most common mistake is grabbing the sponge right away. That usually turns a manageable job into a slow one because loose dirt, crumbs, and random debris get in the way of the sponge's friction.
Professionals prep first. It saves time and gives the tool a fair chance to do what it's good at. If your pet also sheds heavily on furniture at home, these essential pet sofa protection tips are useful for reducing the amount of fur that ends up traveling with you.
Clear the Cabin Before You Touch the Fabric
Start by removing everything that doesn't belong in the cleaning process.
- Take out personal items so you can reach the full seat surface, under-seat areas, and the sides of the center console.
- Remove floor mats and clean them separately. Mats trap a lot of hair, and they're easier to work on outside the vehicle.
- Throw out trash first so you're not dragging food wrappers or paper bits across the carpet with a sponge or vacuum tool.
This part sounds basic, but it matters. Pet hair jobs get frustrating when you keep stopping to move things around.
Do a Dry Vacuum Pass First
Before the sponge touches anything, do a dry vacuum pass over the entire interior. The goal isn't perfection. The goal is to remove loose debris and any hair that's already sitting on top of the fibers.
Focus on:
- Seat tops and seat backs
- Floor carpet and mat wells
- Cargo area fabric
- Seat edges and visible seams
Clean out the easy material first. You want the sponge working on embedded hair, not wasting effort on crumbs and loose fluff.
Identify the Surfaces That Are Worth Your Time
Not every area should get the same approach. Cloth seats and low-pile carpet are usually worth attacking with a sponge. Deep carpet around anchors, tight seams, and heavily packed corners often need a different tool after the sponge does its part.
A quick visual check helps:
| Area | Good sponge candidate | Usually needs follow-up |
|---|---|---|
| Cloth seat centers | Yes | Sometimes |
| Low-pile floor carpet | Yes | Often |
| Tight seat seams | Limited | Yes |
| Cargo liner fabric | Yes | Sometimes |
| Hard plastic trim | No | Wipe instead |
That prep stage is where a lot of DIY jobs either get easier or go sideways. If you skip it, the sponge will feel less effective than it really is.
How to Use a Pet Hair Removal Sponge Like a Pro
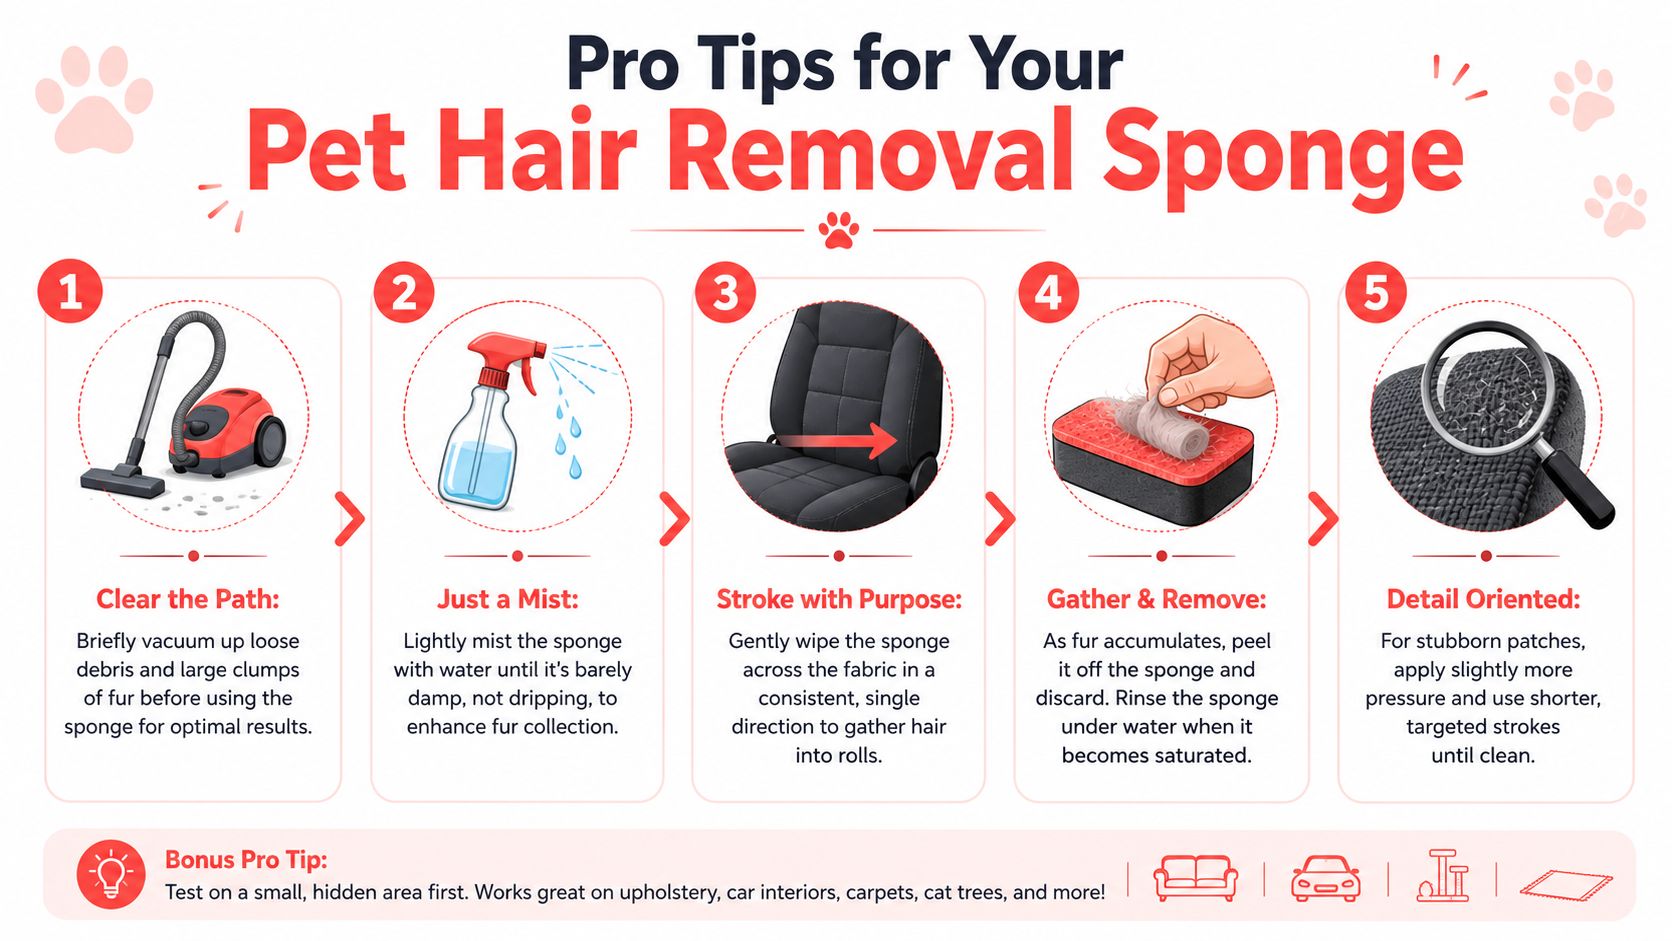
Technique matters more than people think. A pet hair removal sponge isn't doing the work through moisture or stickiness. It works through friction. Used correctly, it lifts embedded fur and rolls it into clumps you can remove. Used the wrong way, it just skates over the surface or pushes debris deeper.
Start Dry and Stay Dry
Manufacturer guidance and product demonstrations agree on the key rule. The sponge should be used dry with long, sweeping strokes, and then cleaned with cold water and soap after use, as shown in this pet hair sponge demonstration video.
Practical rule: Sweep, don't scrub.
Circular scrubbing is where people lose results. The sponge needs a consistent directional pass so the friction can pull hair upward and gather it together. If you bear down and work in circles, you reduce that effect and can smear dirt into the fabric instead.
The Basic Motion That Works
Use a firm but controlled hand. You're not sanding the seat. You're dragging the sponge across the top of the fabric so it catches and lifts the hair.
Do it this way:
- Pick one direction and stick with it for that section.
- Use long strokes across the fabric instead of short frantic motions.
- Watch for clumping as the hair starts to gather into a roll or line.
- Stop and collect the clumps before they scatter back onto the surface.
- Move to the next section with overlapping passes.
Here's the video if you want to see that motion in action:
Best Surfaces for a Pet Hair Removal Sponge
This tool is most useful on textured interior fabrics where hair gets hung up but can still be pulled free with friction.
Fabric seats
Seat bottoms and backrests are usually the easiest win. Work in straight passes, and adjust your angle when the fabric grain changes.
Low-pile carpet
Floor areas respond well, especially where fur sits across the surface rather than buried deep in heavy matting.
Cargo liners
These often collect thick concentrations of pet hair. A sponge can bundle that hair quickly before you vacuum the area clean.
Headliners and delicate upper fabric
Go lightly. Use less pressure and shorter controlled sweeps. You're trying to lift visible hair without overworking a more delicate surface.
What to Avoid
Some habits kill performance fast.
- Don't wet the sponge before use. That reduces the friction it needs.
- Don't scrub in circles. Hair won't aggregate as cleanly.
- Don't keep using a loaded sponge forever. Once it's clogged with hair and debris, clean it.
- Don't expect it to solve seams and corners by itself. That's not its strength.
A sponge used correctly feels efficient. Used incorrectly, it feels overrated. The difference is almost always the technique.
Sponge Care and Common DIY Mistakes
A pet hair removal sponge is reusable, but only if you take care of it properly. Once it's loaded with hair, lint, dust, and surface grime, performance drops. People often think the sponge “stopped working” when really it just needs to be cleaned.
How to Clean It
After a session, rinse the sponge with cold water and soap. Work the trapped debris out gently, squeeze out the excess water, and let it air dry fully before the next use. Since the sponge works best dry, putting it away damp usually leads to disappointing results the next time around.
That simple care routine is one of the reasons this category became so common. A reusable tool is easier to keep on hand than constantly replacing disposable lint products.
Where DIY Expectations Go Wrong
The bigger issue isn't maintenance. It's expectations.
A pet hair removal sponge works very well on the right fabrics, but it doesn't replace every other step. Product guidance on this category makes that pretty clear. On short-pile or textured surfaces, the sponge can outperform a vacuum at lifting embedded hair. On deep carpet, tight seams, or heavily matted fibers, you'll still need vacuum suction and crevice tools, as explained in this fabric-specific overview of pet hair sponge use.
The sponge is for lifting and gathering. The vacuum is for extracting what the sponge exposes and what the sponge can't reach.
The Mistakes That Slow People Down
Here are the ones I see most often in real-world interiors:
Using it on a dirty surface first
If crumbs and grit are still there, the sponge can drag that mess around instead of targeting hair.Attacking every material the same way
Seat fabric, floor carpet, trunk liner, and headliner fabric don't respond the same.Expecting tight seams to clean themselves
Hair wedges into stitching, corners, and seat-track areas. A sponge won't magically pull all of that out.Doing the whole car in one pass
The better approach is section by section. Work, collect, vacuum, then inspect.Calling the job done too early
A seat can look cleaner from standing height and still have packed hair around the edges and lower bolsters.
If you only want a maintenance tool for quick touch-ups, the sponge is a smart buy. If the interior has months of buildup, it's still just one step in a bigger cleanup.
Beyond the Sponge The Tools of the Detailing Trade
A proper pet hair job usually comes down to tool pairing. Professionals aren't relying on one gadget. We combine tools based on the surface, the depth of the hair, and where it's trapped.
Independent testing of pet-hair tools points to the same practical standard. The most effective method creates concentrated hair aggregation, meaning the hair gets gathered into a manageable mass that can be peeled up or vacuumed away in one cleanup step. That's why pros often use a sponge or brush first, then follow with vacuum extraction, as shown in this product-testing review on hair aggregation and cleanup.
What Else Comes Out on a Real Job
Here's what commonly joins the sponge in a detailer's workflow:
- Rubber pet hair brushes for seat fabric and carpet where a different edge profile works better than a flat sponge
- Crevice vacuum tools for seams, seat bases, and narrow transitions
- Upholstery vacuum heads to pull out loosened fibers after clumping
- Compressed air to dislodge hidden hair from rails, brackets, and hard-to-reach corners
- Pumice-style carpet tools on stubborn floor sections where the nap is holding onto every strand
If you like comparing pet hair tools before buying, Pet Magasin's pet hair removal guide is a solid overview of the wider category.
Why the Combination Matters
Different surfaces fail in different ways. Cloth seats usually hold hair across the weave. Cargo liners trap it in broader textured areas. Footwell carpet often packs it down under pressure from shoes, paws, and moisture. One tool rarely handles all three efficiently.
That's also why this roundup of the best pet hair remover options for cars is useful if you're deciding what belongs in your kit.
For owners who don't want to build out a whole interior-cleaning setup, The Mobile Buff offers targeted pet hair removal for seats, carpets, crevices, and other interior surfaces as part of its detailing services.
Tired of the Fur? When to Call The Mobile Buff
At some point, the question stops being “does a pet hair removal sponge work?” and becomes “how much time do I want to spend chasing fur around this car?”
If your vehicle just needs a maintenance cleanup after a few dog rides, the sponge is a helpful tool to keep on hand. If the hair is packed into carpet edges, buried in seat seams, floating back out after every pass, or mixed with odor and general interior grime, you're in deep-clean territory. Under these conditions, a more complete service makes sense, especially if you'd rather not spend your afternoon kneeling on door sills working section by section.
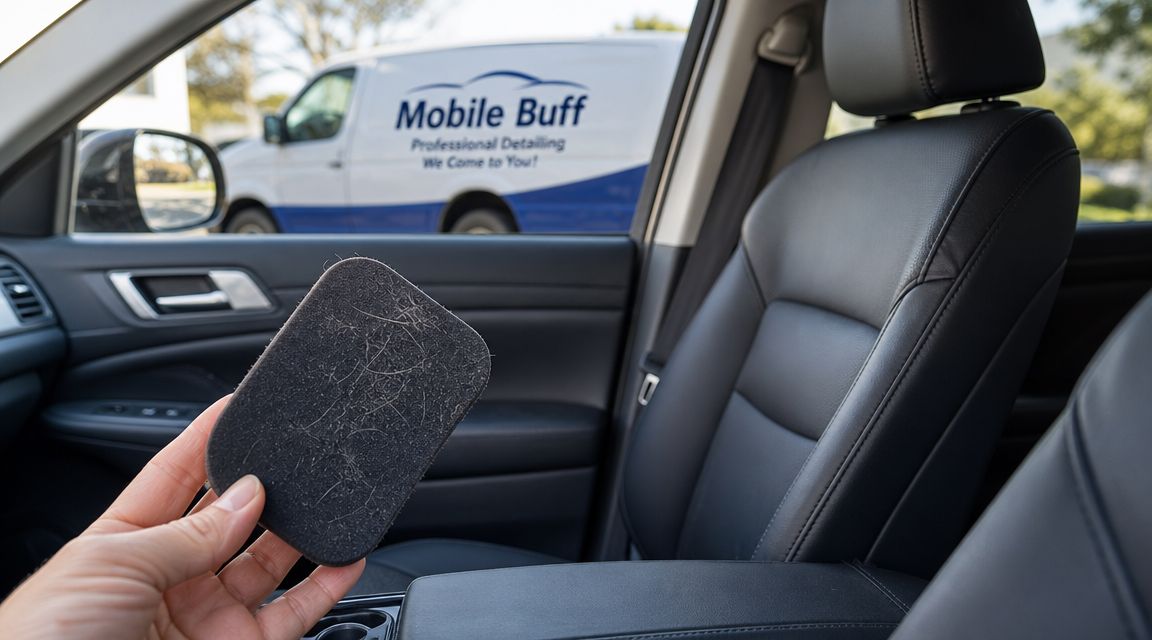
A professional pet hair service isn't just about removing what you can already see. It's about getting into the problem spots that usually stay behind after DIY cleaning, then finishing the interior so it feels reset instead of partially improved. If you want to understand what that kind of service involves, take a look at this guide to pet hair removal car detailing.
If you're in Central Pennsylvania and you're done fighting the same fur over and over, you can check reviews or book directly through The Mobile Buff's Google Business page.
If pet hair has taken over your seats, carpets, or cargo area, The Mobile Buff can handle the deep clean at your driveway. Book a mobile detailing appointment and get the fur, mess, and frustration out of your car without spending your weekend doing it yourself.

